Collecting leads from LinkedIn forms can feel like the easiest option, but if you are creating a manual process to upload those leads to your CRM, you are potentially spending a lot of time on something that can be easily automated.
This is where connecting your LinkedIn Lead Gen Forms to your CRM through Zapier can be a game-changer – all without writing a single line of code.
Once this connection is in place, your leads will be able to be sent seamlessly into your CRM for your marketing and sales team to nurture.
Things to know before you get started
Before you begin, make sure you have access to the following:
- A paid Zapier account
- Admin access OR Lead Gen Form Manager access in LinkedIn Ads
- A HubSpot or Salesforce account with permissions to create/update contacts
- A published LinkedIn Lead Gen Form that includes one recent submission – this can be a test you have created in your name
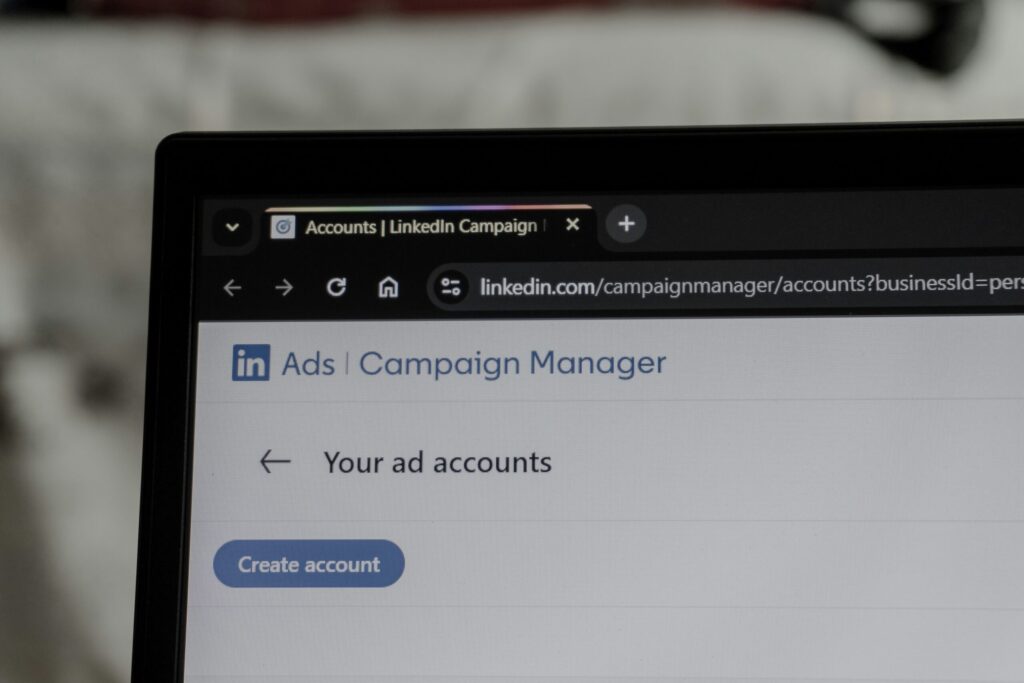
Step 1: Log In to Zapier and Create a New Zap
- Go to Zapier and log into your account.
- Click “Create” in the upper-left corner.
- Name your Zap something that explains what your integration is. For example, SaaS Whitepaper -> LinkedIn Lead Gen Form to Hubspot.
Step 2: Create the LinkedIn Lead Gen Form Trigger
- For the app, search for LinkedIn Ads.
- For the trigger event, choose New Lead Gen Form Response (sponsored content)
- Select your LinkedIn Account and click continue.

4. Select your LinkedIn ads account
5. Choose the relevant lead form under the Lead Form section
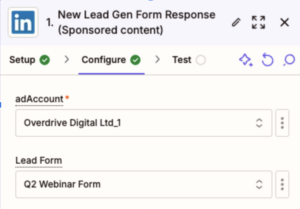
6. Test your trigger has retrieved the lead data correctly e.g First Name, Last Name, Job Title, Company Name etc, depending on the fields in your form.
Step 3: Set Up the Action – Send Lead to Hubspot or Salesforce
How to Send a Lead to HubSpot
- Select Hubspot as your action app.
- Choose Create or Update Contact as the Action event.
- Connect your Hubspot account.

- Map the LinkedIn lead fields to your HubSpot contact fields. As an example, these could include:
- Contact Email
- First Name
- Last Name
- Company Name
- Job Title
- Click Continue and test the action.
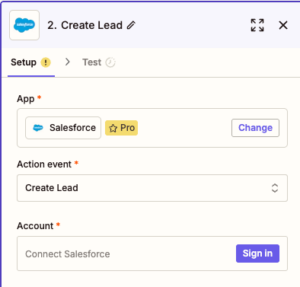
How to Send a Lead to Salesforce
- Select Salesforce as your action app.
- Choose Create Lead as the Action event.
Connect your Salesforce account
-
Map the LinkedIn fields to Salesforce lead/contact fields. As an example, these could include:
- Contact Email
- First Name
- Last Name
- Company Name
- Job Title
- Click Continue and test the action.
Additional Considerations: Send Campaign Data to Your CRM
To effectively measure campaign effectiveness and ROI of your LinkedIn Lead Gen Form Ads, you should consider passing the following data into your CRM. This will be a mixture of data collected in the LinkedIn Lead Gen Form and static values:
- Lead Source: Static Value = LinkedIn Ads
- Campaign Name = Dynamically pulled from LinkedIn Lead Gen Form
- Lead Gen Form Name AND/OR ID: Dynamically pulled from LinkedIn Lead Gen Form
- Ad Creative Name: Dynamically pulled from LinkedIn Lead Gen Form
Step 4: Turn On Your Zap
Once you have tested and confirmed the lead has been sent through successfully to your CRM, switch on your Zap. Once the Zap is active, every time someone fills out your LinkedIn Lead Gen Form, the lead will automatically be sent to your CRM – making life easier for everyone!