Migrating your website can be an overwhelming and complex process. As such, it can be easy to miss some key tasks that need to be considered before you can set your new ads live in line with your new website.
To help with that and make your next migration a little easier, we have put together a checklist, specific to Facebook Ads and what you need to plan for.
Before you do anything though, one of the most important steps is to make sure you are testing your pixel implementation and all relevant settings on a staging site before going live. The more chance you have to test and review ahead of time, the easier your life is going to be on launch!
Check your pixel ID
Your Pixel should be the same but always good to double-check. Google Tag Assistant Chrome extension is a useful tool to check that your tags and pixels are installed and firing correctly.

Facebook Pixel Helper is also another great tool and a personal favourite. It helps to see if there’s a Facebook pixel installed on a website, check for errors and understand the events that your pixel is receiving.
Plan your timing
Make sure that your ads go live in line with your new website launch. You don’t want to be sending traffic to a dud landing page and wasting money. This may also cost you customers!
The really important thing here is to be clear on timelines and make sure that you know if things change (they usually do!). This way you know exactly when you will need to take care of your parts and can schedule time accordingly.
Sounds simple, but it’s pretty important!
Update your landing page URLs
This may be a simple one but damn important! Ensure all your Facebook ads have the new website URLs and that those URLs have all been tested and verified. You clearly want to avoid sending paid traffic to 404 errors, but redirects should also be avoided to reduce the risk of losing tracking data.
You don’t want to be spending money sending traffic to the wrong places. Don’t forget that any custom audiences or exclusions also need to be updated to reflect your new URL structure..
Do your UTM parameters also need to be updated? Sometimes with a site migration, UTM templates/structures might be changed. Make sure you know if this is the case!
Get a custom 404 page in place
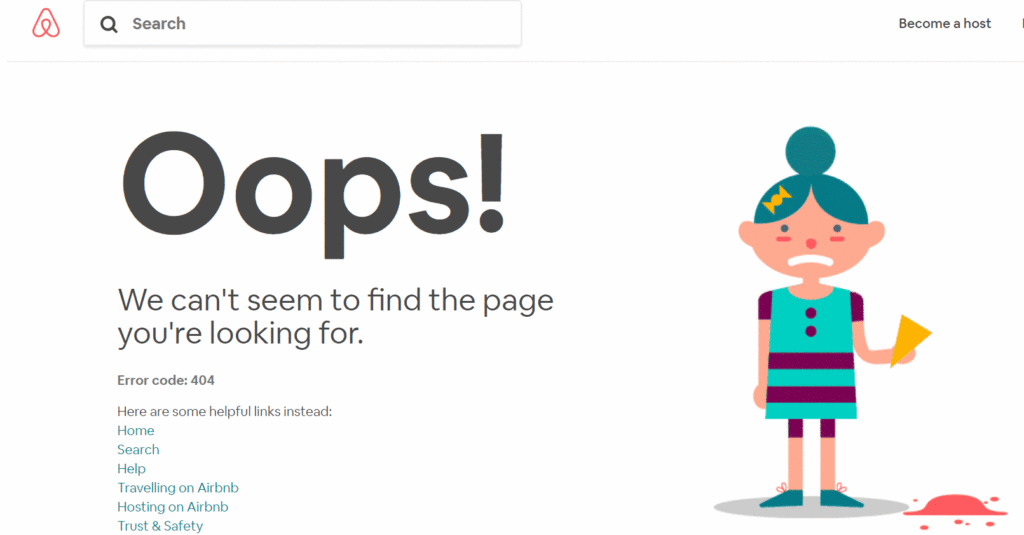
Ensure that there is a custom 404 page in place and/or a redirect set up to the new location for every URL that is moving. This will allow users to easily navigate your site and find useful information if they land on a page that no longer exists.

Monitor your KPIs
After all of this, continue to monitor traffic and performance to make sure that your new URLs are working and tracking.
Monitoring the following will be useful to compare performance to the previous site:
- Key Metrics – are they up or down in comparison?
- Conversion Rate
- Bounce Rate
- Avg Time On-Site
- Catalogue Match Rates
Hopefully, this checklist ensures that you don’t forget the little, but important things when adapting your Facebook ads in preparation for site migration!


